


Browse our ranges
See our full ranges of real-wood, finishing products.
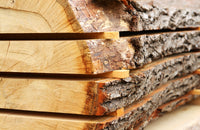
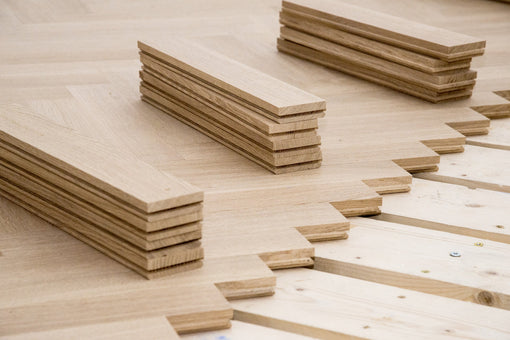
RESPONSIBLY SOURCED, PRIME GRADE TIMBER SUPPLIERS & MACHINISTS
Your cart is empty
Shop allCart updated ()
Make sure you've got everything you need to finish the job to the highest standard.

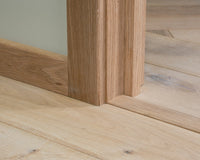
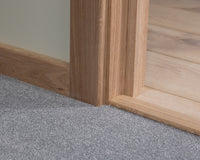
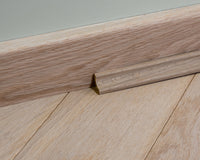
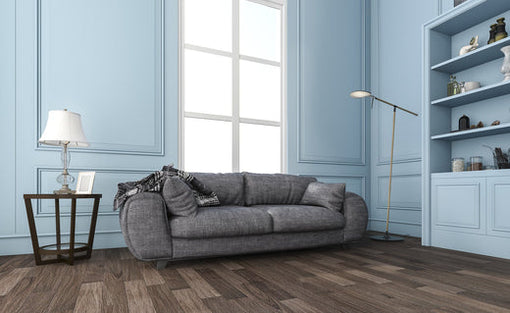
Height Adjustable Clip In Aluminium Flooring Profiles
Parallel (Frontier) LITE profile system is ideal where a slimline top profile is required. Designed to protrude only a few mm above the floor, the LITE profiles are manufactured in extruded aluminium and provide a discrete, hard wearing solution to joining two floors together. Like the WOODLINE hardwood range, the LITE profiles are height adjustable and available in various shapes and sizes.

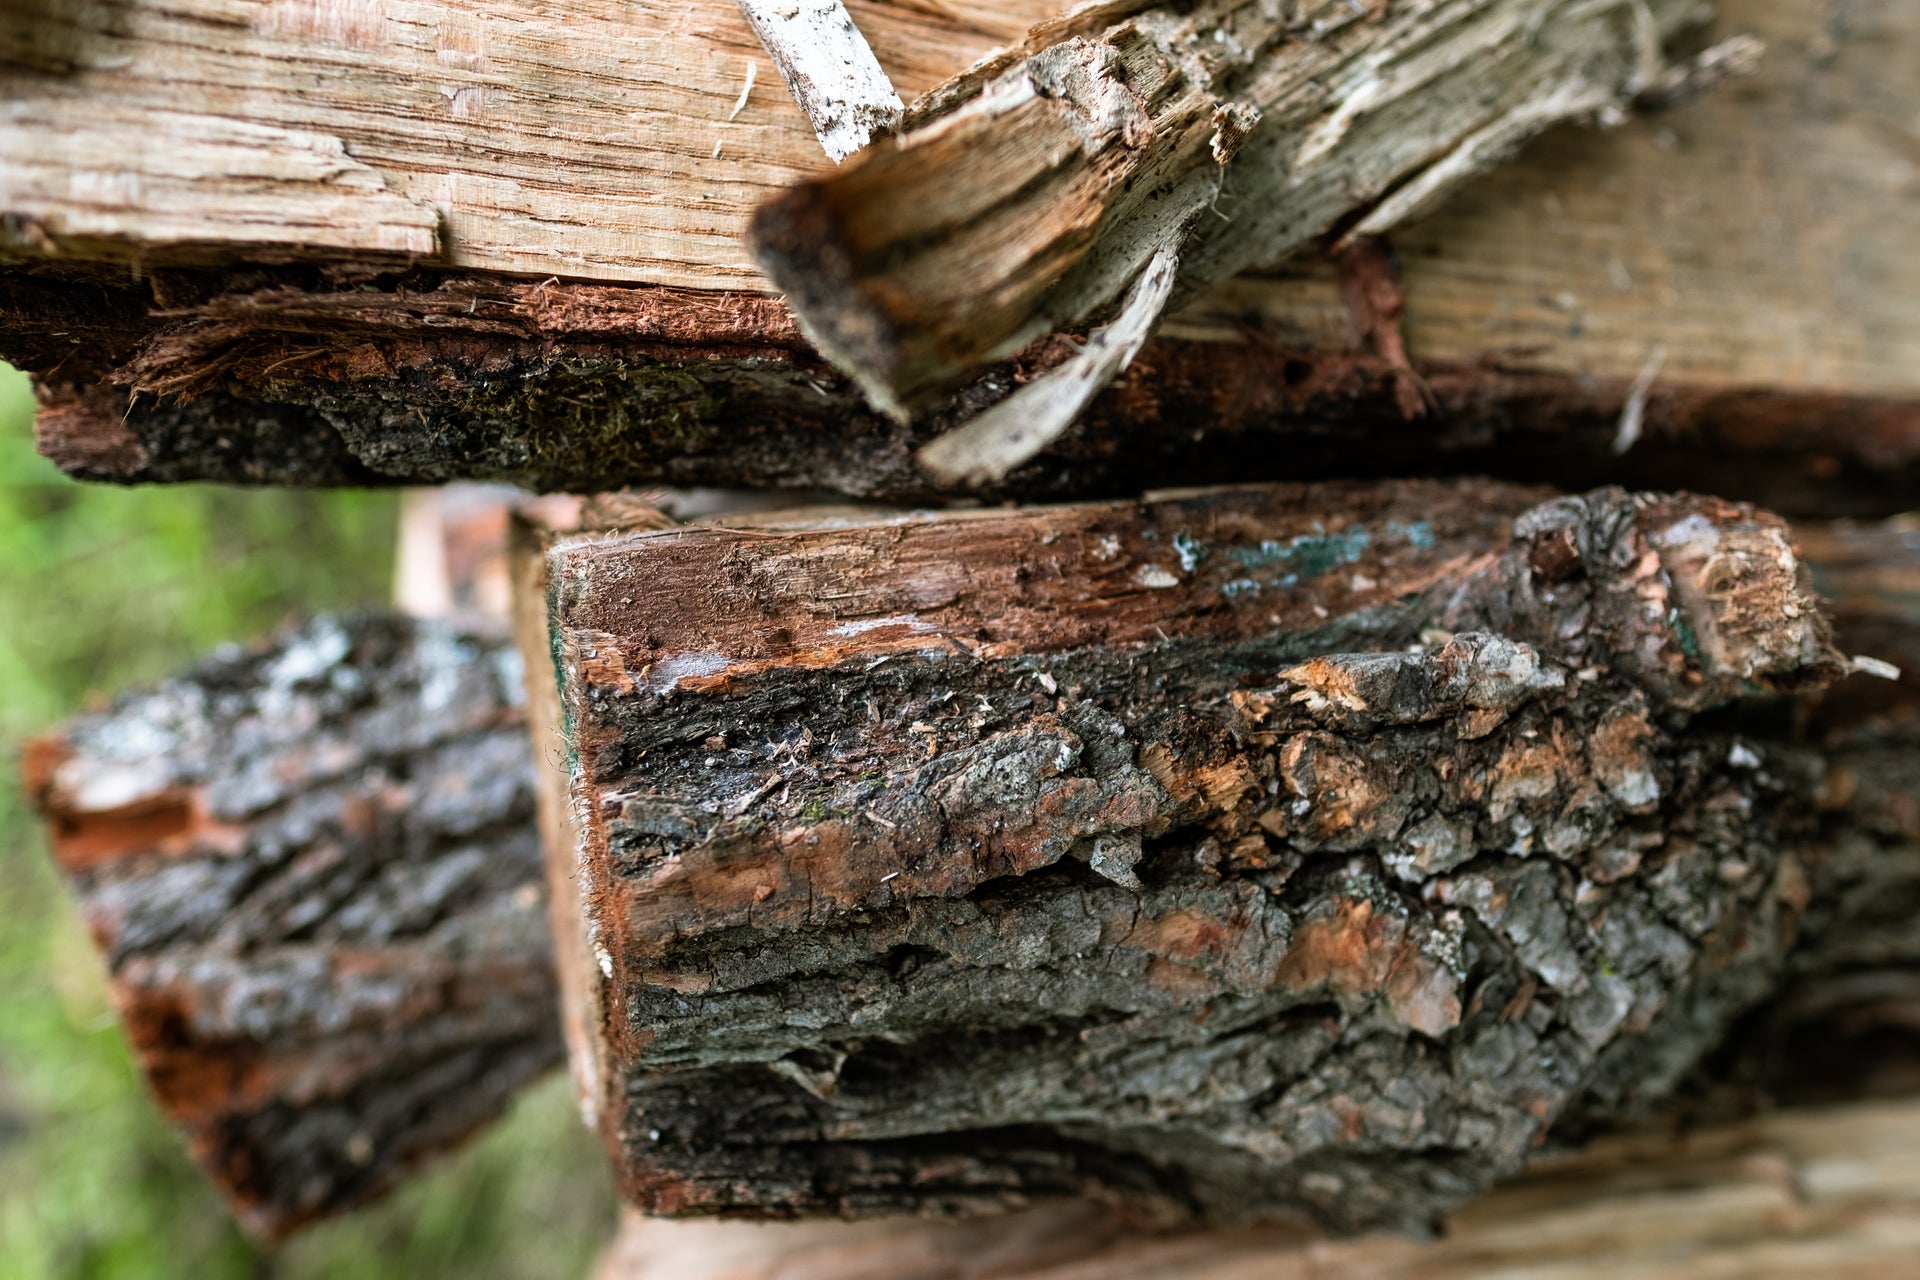
High Grade Aluminium, the perfect metal solution for strength and longevity
Aluminium is an element with the atomic number of 13. Only Oxygen and Silicone are more abundant in the Earth’s crust. Due to its spare spaces in its electron ring, Aluminium is extremely reactive. This means that it is rarely found in its unbound natural state. Instead Al is nearly always found bound to minerals, most commonly occurring in Bauxite (a rock often containing Aluminium, Iron and Titanium). Malleable, anti-corrosive and abundant, Aluminium is perfect for non-structural or weight bearing metal products. We use the highest grade T6063 T6 Aluminium alloyed with Magnesium and Silicone for our products.

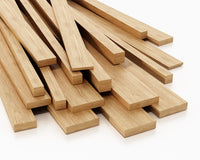
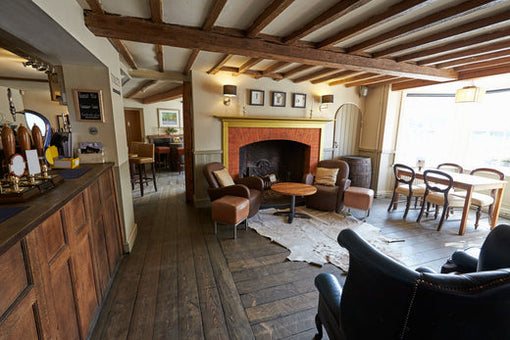
We know about wood, and we want to help you get the most from your project.
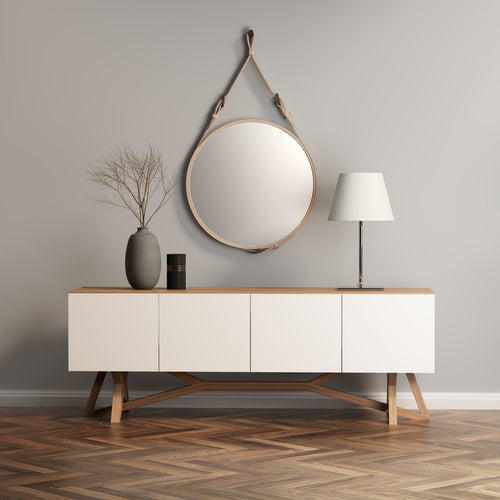
Top three trends to bring your dream decor to life
With 'design' in it purest form being inherently objective, harnessing key interior decor trends to make them your own is really where...
Created with the care and vision of true craftsmen committed to producing products that stand the test of time, at Weatherbar, we specialise in crafting hardwood profiles tailored to me...

Top five benefits
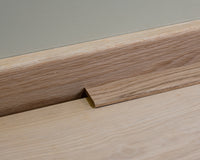
Versatile and functional, cover and capping strips are often forgotten finishing touches that can enhance the quality and appearance of any project. Whether you’re fit...
Our team believes your floors should be as unique as your space and your interior tastes. With a wide range of options in colouring, oiling, and finishing, Weatherbar can transform any...
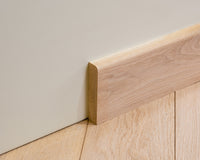
When planning the finishing touches of your interiors, skirting boards often play a subtle but essential role. That said, in recent years, their necessity has come into question. Tradit...
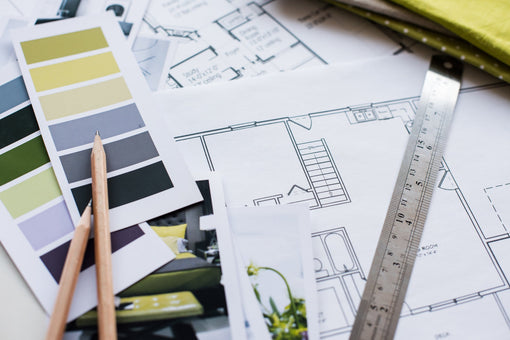
The right skirting and architrave can enhance any space, adding style and cohesion. Here’s a quick guide on what to consider when selecting the best options for your project.
Style and...
Offering a subtle way to enhance your home, mouldings can be quite transformative; you could even call them the unsung hero of interior design.
Among the most popular choices are dado r...

Minimal preparation, beautiful finish. Fix & forget philosophy, walk away without worry of having to return to replace or repair our products.
Tools you'll need for the job:
Parallel LITE profiles are quick and easy to fit if you follow our method for getting it right first time around. There are a few things to note: the base section can be glued or screwed down in advance. Be sure to get the base position correct as the top profile will only locate to where the base is set. If you're intending to notch out the profile to sit it within your door jamb, work from one end at a time to avoid any errors in measuring (easily done when taking rebates out). Once you're happy the profile will not be need to be removed again, use a little high grab adhesive in the base profile to hold the top section extra secure.

Our initial recommended starting point for any DIY is to ALWAYS measure and measure again. Even the most experienced DIYers and tradespeople make errors at this stage and it's such an easy thing to overlook!

Once measured, cut the base profile to the required length. The uPVC track can be cut using a hand saw or, if you have access, to a cross cut style saw with a fixed bed (not a circular saw). You're now ready to glue and/or screw the base to your substrate floor. Don't forget to check for pipe work if screw fixing!
Assuming the base is either solidly glued or screwed in to place, it's time to fix the top section. Ensure the profile has been cut to the correct length. If using glue in the track, insert that now and then begin to insert the leg of the profile in to the base. It's easier to start at one end and gently push the profile in as you go. If you need extra force, use a rubber mallet to tap the top as you work it in to place.

When in place and correctly seated in the base, the profile should be flat and even on both sides against/overlapping the flooring. Take care to remove dust and debris from around the profile to ensure it doesn't get damaged.
Originally founded as a draught-proofing company, Weatherbar has been proudly established for over 40 years. Initially acquired by Parallel to meet the growing demand for quality home improvement products, as the market for draught-proofing shifted, Weatherbar too altered its course to meet the demand of DIY-ers, Grand Designers, and keen home improvement beginners.
Error


